

April quilted it with a fun design and I got it machine bound and handed off to Jill. It is part of the Trunk Show that Jill delivered to the Heart and Hand Dry Goods and Company in Sioux City, IA this past Saturday. If you are nearby we'd love it if you could visit our quilts. Let us know what you think.
Recently, I've happily completed two more quilt tops for one of our upcoming patterns. Sorry, no peeking.
But while I was working on them the idea of sharing some random tips on quilt construction with you came to mind. (Preparing quilts to be on pattern covers and seen by the public is a bit nerve wracking and demands a professional look so we do what we can to ensure accuracy.) You might already be aware of these techniques/tips but here goes anyway.
1. Using an edgefoot for accurate 1/4" seaming. The edgefoot is worth its weight in gold. Oh wait, mine is gold. Thank you again, Jeanne.

The edgefoot is often an accessory foot you need to purchase. Once mine was put into use there was no going back. The edgefoot has a little "gate" or "wall" on it that your seam allowance rides along. My needle is in the 4.5 position to the right of center to get a 1/4" seam. Test your machine for your best needle placement.

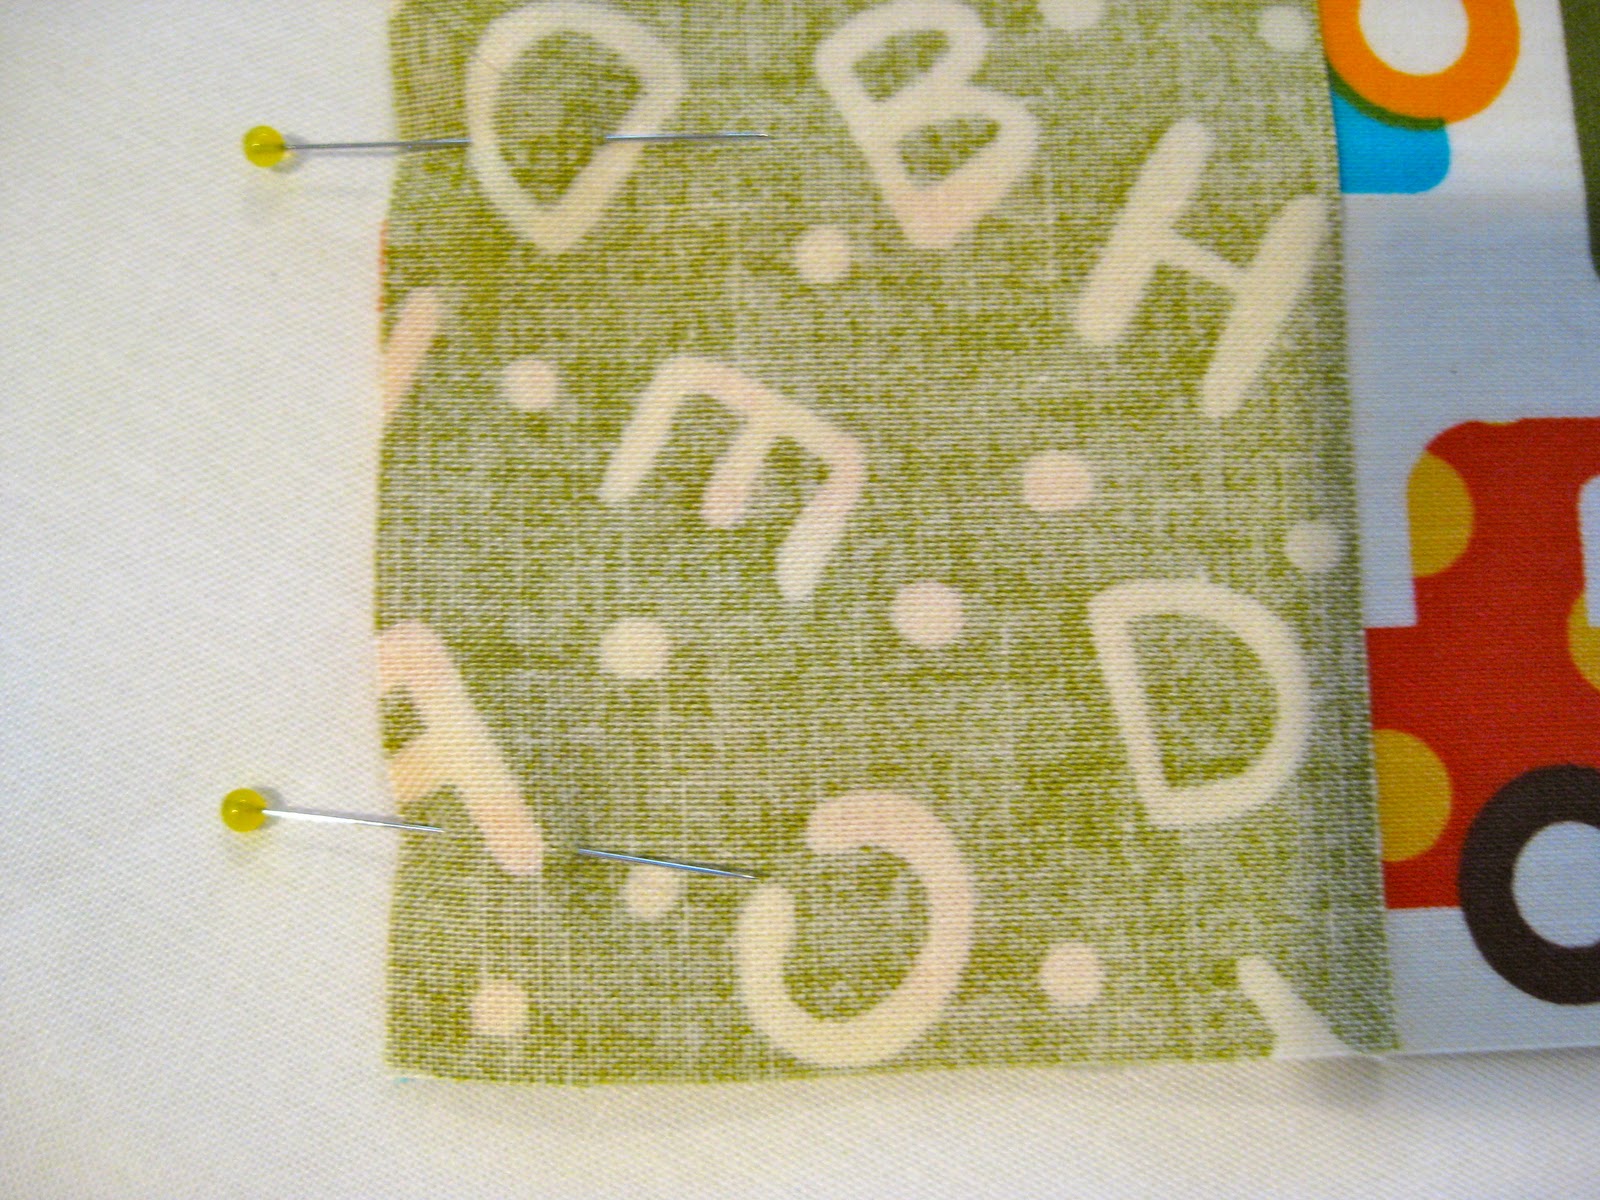
2. When pinning your seams I have a couple of hints that help me all the time. First, Clovers fine Patchwork Pins are wonderful for pinning accurately. They are very thin and super sharp and cause the very least distortion possible. Here is how I pin intersecting seams when both seams are pressed open.
 |
| Put the pin 1/4" in from edge and through the seam line of both layers. |
 |
| Then pin through all thicknesses on either side of the first pin. Remove the first pin. |
 |
| The edge perpendicular to the seam is square. |
 |
| The edge perpendicular to the seam is not square and will lead to trouble. |
3. Pressing each and every seam is very important. First, set the stitches by pressing along your line of stitches briefly.

Steam is a must for me. Second, press the seam open from the back side.

Third, press from the front side.

Quilters use the word "press" for a reason. The back and forth of "ironing" can distort. Press down gently and accurately.
So thanks for taking a look today. Maybe you will find something helpful, and maybe you'd like to offer your own tip or technique. Comments are always such fun for us!
Till Tuesday....
I see you press all of your seams open. I never press them open unless there is a bulky seam. Can you give your reasons as to why open vs to one side? Thanks.
ReplyDeleteHi Amy, the open seams give a nice flat finished surface. I find that desirable. I also think everything fits together more easily without the folded bulk of the seam pressed to one side. But this is all up to the individual and the circumstance.
ReplyDeleteI saw your quilt patterns at Mid Atlantic quilt festival and fell absolutely in love. I'm holding my breath until you guys come out with a book. Absolutely stunning!!!
ReplyDeleteThank you so much Sabrina. We'd love to do a book before too long, but in the immediate future we will have four new patterns to be published by May.
ReplyDelete