
Showing posts with label Tips and Techniques. Show all posts
Showing posts with label Tips and Techniques. Show all posts
Tuesday, September 18, 2012
Sliced Bread from Modern Quilt Relish Video 2
We're debuting our second video in the series for the free printable pattern Sliced Bread. Clearly we are still learning (very evident at the end of the video). But as they say, you have to start somewhere.
Anyway, this video covers "two ruler" cutting skills. There is a nice little demonstration on how to cut without having to flip fabric or rulers around. Take a look!
You can click on the label Sliced Bread Free Quilt Pattern to get to the posts with all the directions for making the modern baby quilt.
Next week we'll be making a strip set and subcutting it into the correct segments for the quilt.
We've started a Pinterest Board for our videos. Hopefully it will grow and, fingers crossed, become more professional.
We are hard at work sewing, designing and writing our next project. Hopefully we can share more specifics soon.
Till Tuesday


Tuesday, October 18, 2011
Easy...Easier...Easing for Modern Quilt Tip

Marny here...
Do you ever stop and ask yourself, now why did I do that? And then, how can I fix that?
For those of us with moveable needle positions on our sewing machines we get to choose our seam width. This is not as cut and dried as you might think. Jill and I were feverishly sewing together last week and we discovered she is a "4.5" and I am a "4.0".
 |
| Jill's perfect setting at "4.5" This is the smaller seam allowance of the two. |
 |
| Marny's perfect setting at "4.0" is the larger seam allowance of the two. |
Could I leave well enough alone? No is the obvious answer. You guessed it, I made a couple of strip sets using "4.5". Then I cut them into the correct segments and decided to check the results. I lined the segments side by side to sew them together, and wow, you guessed it again, "4.5" doesn't work for me. Everyone is different in how they place their fabric along the edge of their foot. I imagine every machine is a bit different too. So you need to find the needle position that works for you and use it!
 |
| Can't have this now can we? This is the overall difference in length. The three seam allowances were not large enough so the segment ended up longer than the one it needed to pair with. |
The "grass is always greener syndrome" can get you into trouble.
I had a pile of segments with the wrong seam allowance. One set of segments had three seams in each one. The error gets multiplied the more seams are involved. I did not want to start with a new strip set. One fabric was in short supply. What to do?
My first solution was to resew the seams. Easy but tedious.
And then I thought how about if I pin lots and fudge a bit. Easier but not so pretty.
But then...wait for it...easing is best accomplished if the fabric that needs easing is against the feed dogs of your machine. I can just hear my 8th grade Home Economics teacher announcing this kindly as we all wrestled with inserting sleeves. (I also still remember that the first one went in perfectly, and that the second one took nine tries. Not so cleverly and against advise, I chose a nice solid pink fabric that showed every error. I just loved the solid sea of pink though.) Notice I am still happily sewing with solids.
I placed the fabric segment that needed easing along the feed dogs and put the segment sewn with the "4.0" needle position seam on top. Worked like a charm. Success was mine. Big sigh of relief. The blocks are going together beautifully now.
 |
| The segment that ended up too long due to the too small seam allowances is placed against the feed dogs.When you pin appropriately and match seams correctly the machine does the work for you. |
Note to self: all other strip sets will be sewn with a "4.0" needle position. That is if I can remember.
Last week's design dilemmas have been conquered, the new pattern is getting put on the computer with diagrams and directions, and all the deadlines are going to be met. The quilts will be ready at the longarm quilter's tomorrow (thanks April) and therefore let us give a shout. Binding and pictures are next. Ta Da! Yipee!
We just received Market Values back from the printer. It is always fun to watch the UPS truck drive up with patterns for Modern Quilt Relish. Can't wait to show them to you all!
See you Tuesday. Which, by the way, is the last post before Houston Fall Quilt Market. Can you believe it?
Tuesday, August 16, 2011
The Winner is...and Dinner Plates Free Modern Quilt Pattern, Quilt Along, Sew Along Cutting Instructions
The winner is..... Bijoux Baby! We'll be in contact with you to ship your fabric and patterns. I do sort of have egg on my face as we really didn't have 100 comments but I'm telling you, it was just so good to hear from you!! Thank you so much. Your comments were so helpful and thoughtful. Next week I'll give a full report as to what we discovered (not that you can't read it for yourselves). Again, THANK YOU, we love having you comment! Now, on to Dinner Plates!
Marny here...hope you all had fun choosing your fabrics! New or old, playing with fabric choices is always fun. I went with all "fresh" fabric. My choices are described in the previous Dinner Plates post.
It is best to make a little chart assigning numbers to your six fabrics. If you have chosen a scrappier look with half yard cuts or fat quarters you'll just need to pay attention that you come out with the right number of each of the cutting categories. You'll see what I mean in a moment.
There are three cutting categories.
1. Plain blocks.
2. The backgrounds you will insert your circles into.
3. Squares of fabric you then cut your circle from. (Cutting the circles from these squares will be described in Step 3, on August 30th.)
Dinner Plates has 15" finished blocks. Therefore the plain blocks are cut 15 1/2". It is useful to cut the squares for background larger than 15 1/2" so that you can make them nice and square once the circle is inserted. I advise 16 1/2" - 18" for this. The squares for circles are 14 1/2" - 16".
This being said, you could now make the decision to make a slightly larger quilt with the fabric you already have. You could make your blocks finish at 16". Your Queen would then finish 96" x 96" and your throw would finish 64" x 80". You would need to enlarge all the cuts by one inch to do this safely and easily.
Here are the cutting charts for Dinner Plates. Be sure to follow the one for the size you are making!


So for this Step 2 of Dinner Plates all you have to do is cut numerous large squares. Large square rulers of just the right size are nice, but who has one for every size?
If you haven't cut large squares let me assure you it is easy. I am going to show you how using two long rulers and then show how to do it if you don't have two long rulers but do have a variety of squares or smaller rulers.
Marny here...hope you all had fun choosing your fabrics! New or old, playing with fabric choices is always fun. I went with all "fresh" fabric. My choices are described in the previous Dinner Plates post.
It is best to make a little chart assigning numbers to your six fabrics. If you have chosen a scrappier look with half yard cuts or fat quarters you'll just need to pay attention that you come out with the right number of each of the cutting categories. You'll see what I mean in a moment.
 |
| It is advisable to take the time to label your fabrics 1 thru 6. |
1. Plain blocks.
2. The backgrounds you will insert your circles into.
3. Squares of fabric you then cut your circle from. (Cutting the circles from these squares will be described in Step 3, on August 30th.)
Dinner Plates has 15" finished blocks. Therefore the plain blocks are cut 15 1/2". It is useful to cut the squares for background larger than 15 1/2" so that you can make them nice and square once the circle is inserted. I advise 16 1/2" - 18" for this. The squares for circles are 14 1/2" - 16".
This being said, you could now make the decision to make a slightly larger quilt with the fabric you already have. You could make your blocks finish at 16". Your Queen would then finish 96" x 96" and your throw would finish 64" x 80". You would need to enlarge all the cuts by one inch to do this safely and easily.
Here are the cutting charts for Dinner Plates. Be sure to follow the one for the size you are making!


So for this Step 2 of Dinner Plates all you have to do is cut numerous large squares. Large square rulers of just the right size are nice, but who has one for every size?
If you haven't cut large squares let me assure you it is easy. I am going to show you how using two long rulers and then show how to do it if you don't have two long rulers but do have a variety of squares or smaller rulers.
 |
| The fabric is folded in half , with the selvages away from me. Trim a clean, perpendicular edge. |
 |
| Using two long rulers, align one with the required measurement on the freshly cut edge. Lay the second ruler perpendicular to this, with the one of its straight markings aligned with the folded edge of the fabric. Remove the first ruler (the horizontal ruler above) and cut along the right edge of the remaining ruler. You will have a strip the required measurement. I will show the next step in a bit. For more on working with two rulers for general cutting go here. |
 |
| Here I show using two square rulers and a long ruler. I am cutting a 15 1/2" strip. The first ruler I put down was the 12 1/2" square one. Then I placed the yellow smaller square ruler right against it and carefully aligned the clean edge of the fabric under the 3" mark on the ruler. (Yes, 12 1/2 + 3 = 15 1/2) Then I put the long ruler along the left side of the squares, making sure a line followed the fold of the fabric, removed the two square rulers, and made the cut. |
 |
| Here the resulting 15 1/2" strip has been turned on its side. The fold of the fabric is to the left. Clean up the right edge. (This will be the selvage edge. Be sure to cut in far enough to remove them both completely.) |
 |
| Repeat with the two rulers or the multiple rulers. |
 |
| And there you have it! Beautiful squares. Sorry that the angle of the camera causes my squares to look deceptively like rectangles. |
 |
| Here are my three completed piles. I've labeled them plain blocks, backgrounds, and circles. |
 |
| This is the Cut A Round ruler by Cheryl Phillips that I use. It makes cutting circles easy. |
 |
| Don't you just love the little piles the trimming pieces and scraps form at the end of a cutting session? See you August 30th for the great circle cutting and inserting day! |
Tuesday, July 12, 2011
Des Moines Modern Quilt Guild and lets get the Modern Quilt Relish Trunk Show on the Road
Marny here...Just a heads up that the Des Moines Area Modern Quilt Guild has a meeting the 21st. Everyone with an interest in the Modern Quilt Guild movement is welcome.

We are getting all our samples bound and are just about ready to start official Trunk Shows. I have a small sample to finish binding today. It is a really cute baby/wall version of Nibbles. We have already posted our binding tutorial. You can click on it in the right sidebar. Today I want to show you how I trim my quilts before putting the binding on. Everyone has their own method, but here is mine.
I like square corners. Many of the quilts I have made in the past as store samples have ended up on the walls of the Quilting Connection in downtown Ames. (Lots of our current quilts and patterns and kits are there now of course.) When you work in a store all day and view your own quilts up for all to see it is discouraging when the binding detracts from the quilt. Square corners are so much nicer than warped, curved or otherwise oddly shaped ones. A square corner starts with the trimming of the quilt. I do not grade my batting/backing as I trim. Others have success with that system, but here is what I do.
I am lucky in many ways. First, these quilts have been quilted by a long arm quilter. April does a wonderful job and the quilts are evenly quilted and lie very flat when we get them back. She has advised us to stitch the quilt tops 1/8" or so from the edge all the way around before she quilts them. This does help stabilize the top a bit during the quilting process.
 |
Second, I have a large cutting table. I prefer cutting on my green mat, it seems kinder to my blades, even though the entire surface is covered with a cutting mat. (We get quirky the longer we quilt.)

Third, my rulers are awesome. There are long ones and large square ones that make this job so easy.
 |
| You will see MasterPiece and two Creative Grid rulers here. |
I also have a large Olfa cutting blade that is great for cutting through the quilt with its additional batting.

So here we go...
1. Smooth out your quilt on whatever surface you are using. A large table is good so that the quilt stays flat and not in some rumpled state as you trim. You can scoot a smaller mat around as you need it to cut on. Just be careful not to nick a surface other than your mat.
2. Start along an edge with a corner included in the first cut.
3. Be sure to line up the corner both horizontally and vertically under your ruler. Keep it as "square" as you can. You might need to cut a bit away from the edge of the quilt to do so. Just make sure this "fudge factor" is less than the seam allowance you use to apply the binding.
 |
| Here the ruler is being "squared" on the corner. The trimming will be on the right length of the ruler. |
 |
| The quilt is trimmed along one side. |
4. Turn the quilt, smooth it out and start working up the other side. Sometimes a good sized square is handy on larger quilts, but on these smaller ones my wide, long rulers should do the trick.

5. Again line up corner number two both horizontally and vertically under the ruler.

6. Here is one corner completed.

7. Repeat all the way around the perimeter of your quilt.

8. Now it is time to bind with a scrappy binding of the fabrics used in the quilt. A completed quilt is just around the corner! (and it will be a square corner)
Till Tuesday...
Tuesday, March 15, 2011
Two rulers Rule...
 |
| Nature's gift for the Ides of March
Spring is such a hopeful time...full of so much potential. Enjoy it.
Marny here...one more technique to share. This one might be helpful to some of you who experience difficulty with cutting for one reason or another.
I became dependent of this two ruler method of cutting when the store needed kits for a monthly program. The 200 kits cut every month had 3-5 fabrics in each. That is a lot of cuts. The cutting counter set aside for this project could only be used from right to left and was unapproachable from the other side. Shifting the fabric around that many times was out of the question.
Now I am totally dependent on the two ruler method. A single ruler sometimes baffles me, after all I have used the two ruler method thousands and thousands of times. I am not picky (stop your snickering) about which rulers to use. Two 24" long rulers are the easiest. Today I am using my trusty 8" wide Master Piece 45 and an 8 1/2" wide Creative Grid ruler.
Here are the steps to cutting with two rulers. Some, of course, are just the same as cutting with one ruler.

First, you need to establish a clean edge.

Carefully line the ruler up along the fold or the bottom edge of your fabric. Cut perpendicular to this along the right side of the ruler. Now you have a nice, clean and straight edge to work from.

I place my first ruler on the fabric. My four inch mark follows exactly along the fresh cut. I want a four inch strip. When I am happy with the accuracy, I carefully place the second ruler snugly against the left side of the first ruler.

I pull away the first ruler. And proceed to cut along the right edge of the second ruler.

And there you have it, a four inch strip. No walking around or rearranging the fabric is necessary. You can get quite a rhythm going. Occasionally the right edge needs to be cleaned up again as you work your way along the length of your fabric.
Hope this technique helps some of you. I find it very efficient and accurate. We encourage you to use whatever method works best for you. But you might like to try the two rulers, or have it in the back of your mind when some cutting challenge presents itself. It works.
Visit this website for Heart and Hand Dry Goods to see our trunk show displayed and to check out their upcoming events--including their celebration of National Quilting Day March 17th-20th.
Till Tuesday....
|
Tuesday, March 8, 2011
Timeout for Tips
Marny here...First, here is a photo of the Cute as a Bug in a Quilt version of Leftovers, a Modern Quilt Relish Pattern.

April quilted it with a fun design and I got it machine bound and handed off to Jill. It is part of the Trunk Show that Jill delivered to the Heart and Hand Dry Goods and Company in Sioux City, IA this past Saturday. If you are nearby we'd love it if you could visit our quilts. Let us know what you think.
Recently, I've happily completed two more quilt tops for one of our upcoming patterns. Sorry, no peeking.
But while I was working on them the idea of sharing some random tips on quilt construction with you came to mind. (Preparing quilts to be on pattern covers and seen by the public is a bit nerve wracking and demands a professional look so we do what we can to ensure accuracy.) You might already be aware of these techniques/tips but here goes anyway.
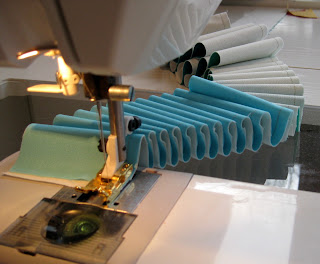
1. Using an edgefoot for accurate 1/4" seaming. The edgefoot is worth its weight in gold. Oh wait, mine is gold. Thank you again, Jeanne.

The edgefoot is often an accessory foot you need to purchase. Once mine was put into use there was no going back. The edgefoot has a little "gate" or "wall" on it that your seam allowance rides along. My needle is in the 4.5 position to the right of center to get a 1/4" seam. Test your machine for your best needle placement.
2. When pinning your seams I have a couple of hints that help me all the time. First, Clovers fine Patchwork Pins are wonderful for pinning accurately. They are very thin and super sharp and cause the very least distortion possible. Here is how I pin intersecting seams when both seams are pressed open.
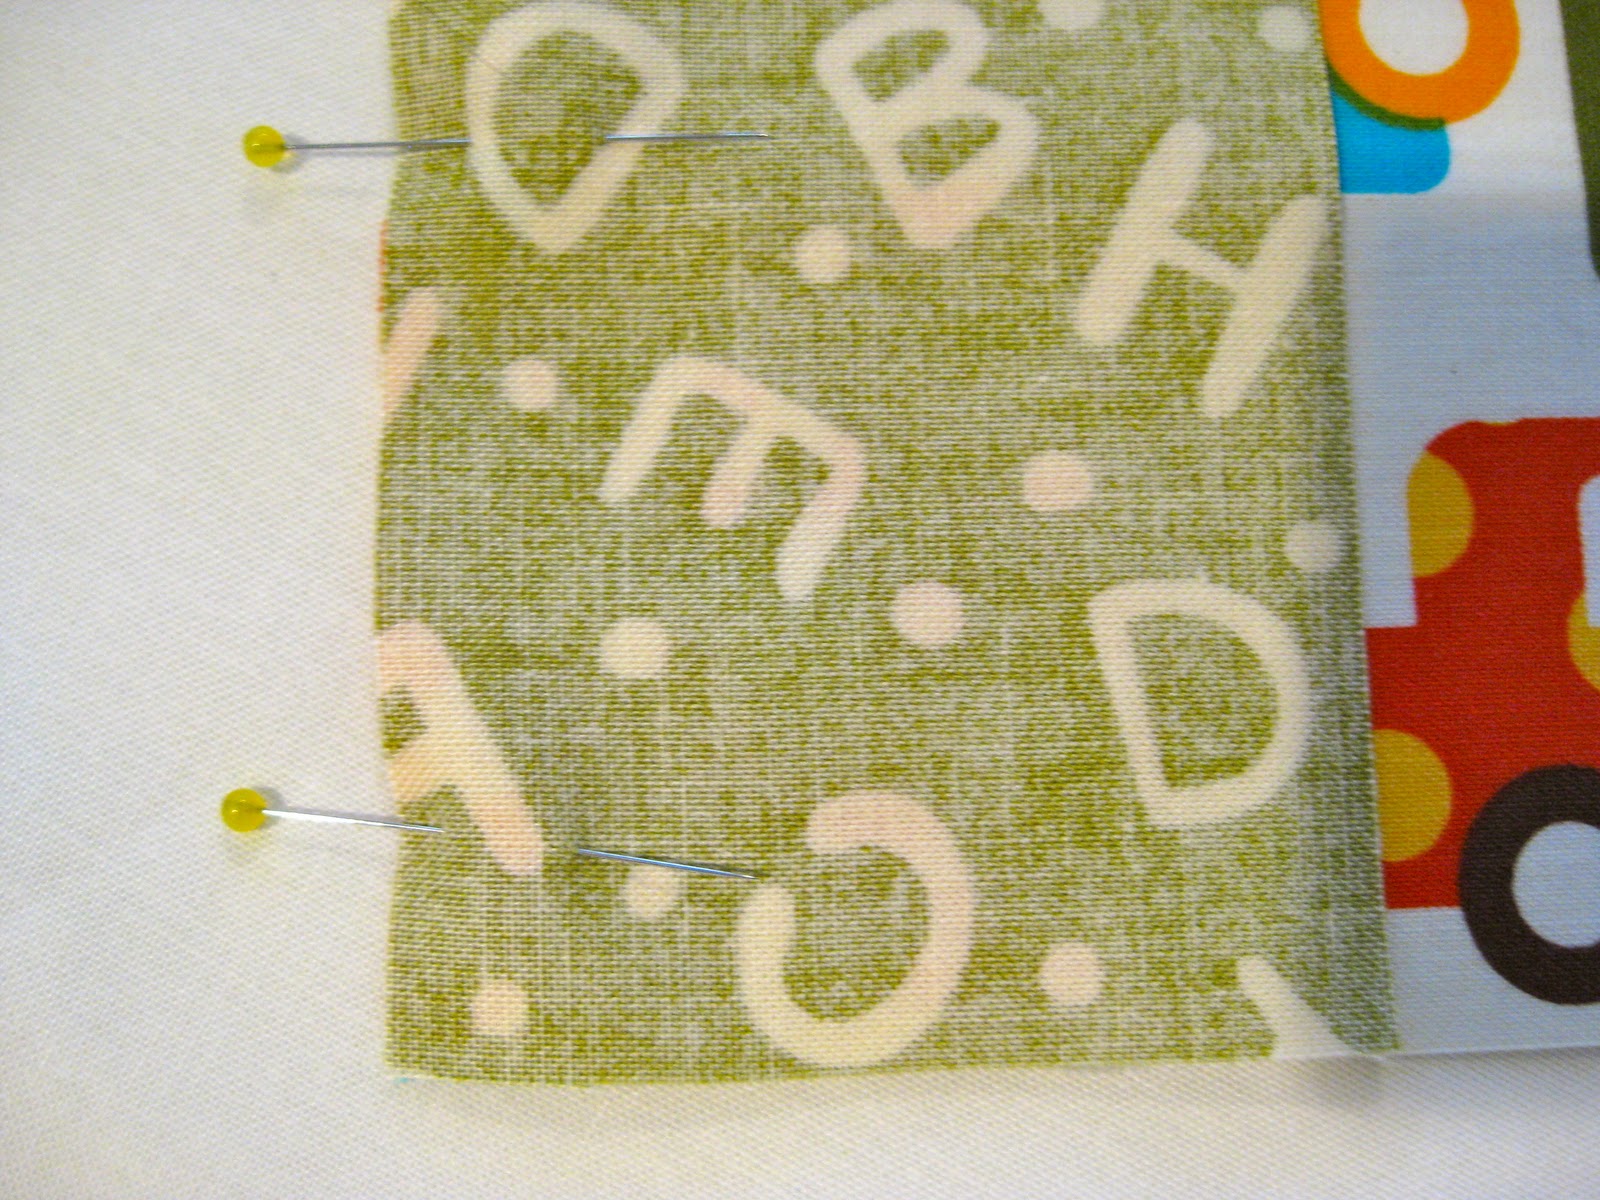
The other thing I find helpful to remember when pinning two blocks, rows, or whatever together is to keep the edges perpendicular to the seam you are pinning square as well. (That was a mouthful.) This keeps the fabrics from distorting or twisting and allows for a nice, flat result.
3. Pressing each and every seam is very important. First, set the stitches by pressing along your line of stitches briefly.

Steam is a must for me. Second, press the seam open from the back side.

Third, press from the front side.

Quilters use the word "press" for a reason. The back and forth of "ironing" can distort. Press down gently and accurately.
So thanks for taking a look today. Maybe you will find something helpful, and maybe you'd like to offer your own tip or technique. Comments are always such fun for us!
Till Tuesday....

April quilted it with a fun design and I got it machine bound and handed off to Jill. It is part of the Trunk Show that Jill delivered to the Heart and Hand Dry Goods and Company in Sioux City, IA this past Saturday. If you are nearby we'd love it if you could visit our quilts. Let us know what you think.
Recently, I've happily completed two more quilt tops for one of our upcoming patterns. Sorry, no peeking.
But while I was working on them the idea of sharing some random tips on quilt construction with you came to mind. (Preparing quilts to be on pattern covers and seen by the public is a bit nerve wracking and demands a professional look so we do what we can to ensure accuracy.) You might already be aware of these techniques/tips but here goes anyway.
1. Using an edgefoot for accurate 1/4" seaming. The edgefoot is worth its weight in gold. Oh wait, mine is gold. Thank you again, Jeanne.

The edgefoot is often an accessory foot you need to purchase. Once mine was put into use there was no going back. The edgefoot has a little "gate" or "wall" on it that your seam allowance rides along. My needle is in the 4.5 position to the right of center to get a 1/4" seam. Test your machine for your best needle placement.

2. When pinning your seams I have a couple of hints that help me all the time. First, Clovers fine Patchwork Pins are wonderful for pinning accurately. They are very thin and super sharp and cause the very least distortion possible. Here is how I pin intersecting seams when both seams are pressed open.
 |
| Put the pin 1/4" in from edge and through the seam line of both layers. |
 |
| Then pin through all thicknesses on either side of the first pin. Remove the first pin. |
 |
| The edge perpendicular to the seam is square. |
 |
| The edge perpendicular to the seam is not square and will lead to trouble. |
3. Pressing each and every seam is very important. First, set the stitches by pressing along your line of stitches briefly.

Steam is a must for me. Second, press the seam open from the back side.

Third, press from the front side.

Quilters use the word "press" for a reason. The back and forth of "ironing" can distort. Press down gently and accurately.
So thanks for taking a look today. Maybe you will find something helpful, and maybe you'd like to offer your own tip or technique. Comments are always such fun for us!
Till Tuesday....
Subscribe to:
Posts (Atom)