SIMPLY SOPHISTICATED DESIGN WITH A TASTE OF THE UNEXPECTED.

Tuesday, September 14, 2010

Giveaway Week Two & Modern Fall Leaf Tutorial

Congratulations Ethne!  Please send us your mailing address by emailing modernquiltrelish@gmail.com.
You will be receiving MQR 101 Modern Pickle Relish after October 6th.  Thank you for commenting from afar.

Jill and I attended a gallery quilt show of Linda Andeberg's at the Ankeny Art Center.  Linda was a long time member of the Contemporary Quilting group we facilitated.  It was remarkable.  Particularly because she comes to quilting from a painting background.  It is wonderful to see her paintings side by side with her collage quilts and print techniques.  She is disciplined in her details and techniques.  The show runs until September 30th.  We encourage you to take a look.

Speaking of followers, Sarah has posted two quilts on our flickr site.  Thanks and who will be next???

Modern Fall Leaf Tutorial

1.  From four fat quarters (Batiks in our case) in a range of values cut 12 inch squares.
2.  Place your four squares right sides up, one on top of the other.
3.  Cut a simple leaf shape with gentle curves through the middle of your squares.


4.  Cut down the center of the leaf shape.
5.  Rearrange.  One of each fabric will be in your new square.
6.  With the needle clear over to the right, and a 2.5 stitch length sew the leaf shapes into the background.  You might take a larger seam if there is a lot of puckering.  Press (into submission.)
7.  Stack a pair right sides up, layering one side overlapping the other, cut down the middle to make them fit one one another.

8.  For a little center definition, add a 3/4 - 1 inch strip of one of the background colors.  Lay this under one side and cut along the leaf so that you can make the center vein fit.  Sew.
9.  Than add the other half of your leaf matching the endpoints as much as possible.  Sew along the leaf and the background. You will end up with a block.  Sections will not match and you might have to do some creative finishing with deeper seams and pressing.
10.  Trim freehand.  No rulers.
So this week's giveaway will be our second pattern, MQR 102 Bowtie Pasta with a Twist.  Enter the drawing by posting a picture of a quilt on our flickr site.  It can be following our leaf tutorial, a quilt you have in progress, or a completed project.  Can't wait to see what you come up with.

See you Tuesday.

Tuesday, September 7, 2010

September in the Air

jill....Wow, Tuesdays seem to roll around quickly.  While I was cleaning (very much needed) my studio, I reflected upon my creative space and how lucky I am to be able to leave this space and come back to it - just as I left it. One of the trade offs of kids-out-of-the-house!  I really love my very large cutting table, (crafted by my husband), sewing table with ample space to the left to hold those heavy pieces of fabric and a "big board" to support my pressing and fusing.  All of these make for efficiency. And oh yes, my television that I use as a radio to keep me company if my dogs aren't under foot.  It would be nice to have more natual light but there are always variables that we can't control...

So I thought it would be nice to have some interactive converstations about tips and efficiencies.  Here's a starter....I totally gave up on matching thread (except when it shows) and using black thread on black fabric.  It's just too hard to see and unsew.  Imagine that.  Sometimes I even go rougue and leave a differnt thread in the bobbin.  Mostly, I match for just a little contrast in the value: light, medium and medium dark in either a brown tone or grey.  I press open most of the time, use a 2.5 stitch length, a scant quarter inch seam and a presser foot with a "fence" to help keep me on track.

The other tool  I use daily is my movable design wall.  It's two large sheets of celotex, light weight but rigid, covered in batting.

Marny....I like my design wall and my big board too.  Pressing on that nice large surface is terrific.  It helps to keep every thing flat, and is great for pressing fabric before cutting.  I change needles before every new project (and sometimes more often if it is a large quilt.)  I clean the lint from the bobbin and underneath the case after every project as well.  I am far from a neatnik, but these two steps give me trouble free sewing.  Auraifil thread makes my machine purr.  Mettler is wonderful too, and comes in lots of colors!

Wearing pedometers makes us aware that sometimes effieciency is not good for you.  You need to get up and move after every seam or so.  You can chain to some extent, but don't get "chained" down.   Every person should aim for at least 10,000 steps a day if they are able.  Staying active is what will allow us to keep on quilting (and keeping up with our families.)
So here is the thing, everybody let us know what your favorite tip or tool is.  We'll draw a random name next Tuesday to receive one of our hot off the presses new patterns.  The pattern will be sent after October 6th.  We have six new patterns, so expect lots of interactive drawings coming up.  Keep commenting and keep checking.

See you next Tuesday.

Tuesday, August 31, 2010

Crazy Pile of Quilts

Or is it a crazy pair of women?

We've been busy.  Our samples are made.  Patterns are in the final draft.  Photo sessions nearly done.  We are sort of crazy.  Plan to launch at the Des Moines AQS Show in October.  Deadlines are a good thing, but they are looming.  More about this later.  We're off and running.
See you Tuesday.

Tuesday, August 24, 2010

Binding Business

But first,
Fundraiser button
We are followers of the Oh Fransson blog.  This good cause appeared on yesterday's blog.  We encourage you to take a look.  Her blog will send you to Alissa's blog for more information.  In a nutshell, it is a fundraiser to teach the women of the Eastern Congo self sufficiency and to give them hope.  


Now on to Binding Business.
Today we are binding a placemat.   It measures 17" x 12".  Find the perimeter.  Ours is 58".  Divide by 38".  We use 38" because it approximates the actual usable amount of a single strip from a width of fabric cut.  So we need two 2 1/2" cuts.
Trim the selvedges.  Join with a diagonal seam.  Trim.  Press the seam open.


With wrong sides together, fold in half lengthwise.  Press.  
Starting along one edge stitch a healthy quarter inch seam. (This requires some testing.   We are using almost 3/8".  Do a trial few inches, pull it out of the machine, roll the binding over snugly, and see if stitching from the front will catch the back in the later steps.  We use our standard sewing foot here, with the needle 2 positions over to the left of center.)  Various batting thicknesses and weights of fabric make a difference as to the best seam allowance.  Testing is worthwhile.


The corner is marked 1/4 inch from the end.  Sew to this spot, and then stitch to the corner at 45 degrees.


Pick up the corner, pull vertically, fold down, and stitch from the fold to the next corner.  Repeat.
Leave 6 - 8 inch long tails and a 6 - 8 inch unstitched area between the beginning and the end.


Match up the strips, right sides together.  Pin your seam allowance distance in through both strips.  This part joining them is a bit confusing.  


Watching this Marci Baker video might is very useful.  We do not follow all of her suggestions, being creatures of habit, but her joining of ends works well for us.  
Now press the binding away from the project.


Fold the corners carefully and pin.  They should have the least amount of bulk possible.  The rest will be folded down with lots of binding clips. 

Now here is the BIG SECRET.  We use an edge joining foot to stitch from the front.  This is a foot with a metal center guide that can ride along the ditch where the binding meets the top of the placemat.
We often move the needle one or two positions closer to the binding (to the right.)  Again check after a few inches.  Then away you go.  This method results in a nice finish on the top and the back.  As with many things, the more you practice the better you get.  And another project is completed!


Happy binding.  Let us know if you have questions.  See you next week.


Tuesday, August 17, 2010

Comment Tutorial & and the End of the Line


Marny here.....The first order of business today is to let you know commenting is still easy.  There is a  colored bar at the bottom of each post.  It contains the following information.
0 comments   

All you have to do is scroll across the bar past Posted by jill/marny and the number of comments lights up.  Click on that and away you go!  Sorry it used to be transparent until you scrolled, but now I think the font shows up.  Hope this helps.  We miss your comments.  Please try again.  And does anyone have photos they want to post on our flickr site?  Any troubles with that?  Let us know!  We love to hear from you.

A short time ago, feeling somewhat overwhelmed by a to do list and lack of discretionary time, I backed out of our driveway.  And there was the answer just sitting in my husband's slot.
No more fear of being overloaded.  I found the secret weapon!  And apparently, I can share since it is a dual overload guard.  Awesome.  A chuckle and I was on my way.
So a quilt is completed and given our household stamp of approval.  An otherwise totally lazy cat appears in seconds when a quilt is spread on the living room floor for pictures. It is her job.
Machine sewn binding is the way to go for ease and strength.  A tutorial will be prepared describing the method you see here.  We will get it in the blog some time soon.  It is slick.  And it really helps get those ufo's off the shelf and completed.  Fewer hurdles and less guilt is always a good thing.

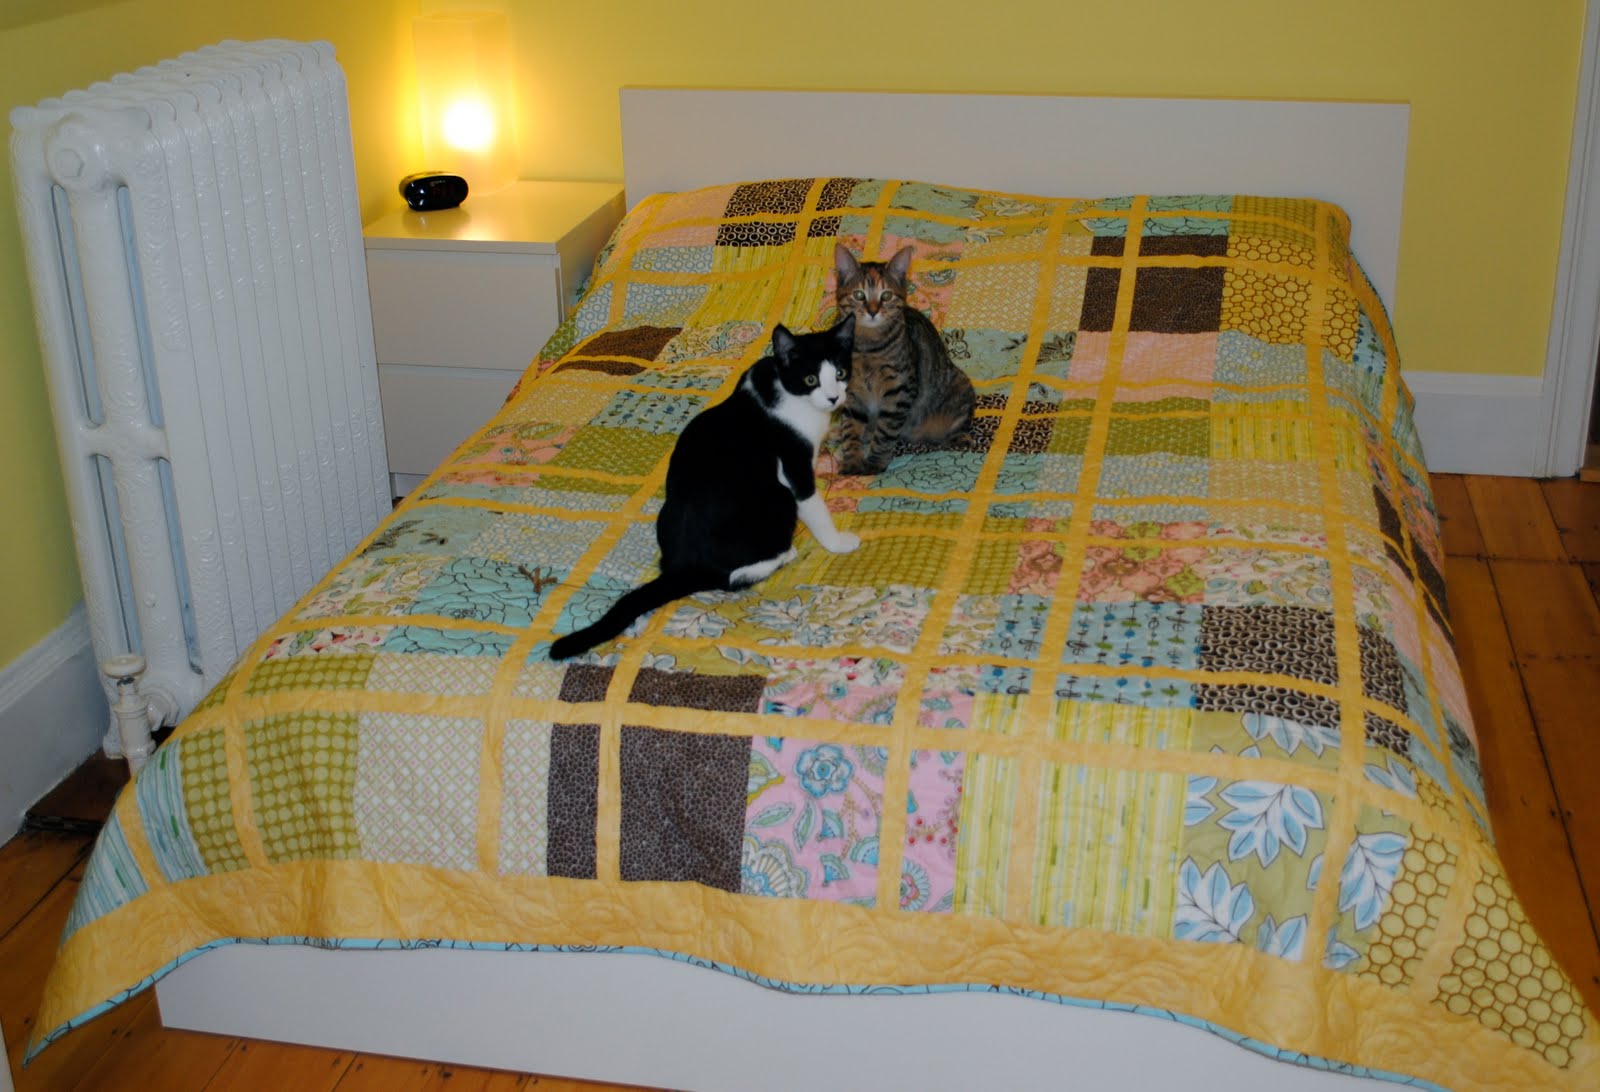
News here.  End of the line!  Quilt happy in it's new home.  It brings a little sunshine to the coast of Maine.  And makes me feel good to have a promised gift delivered.  Clearly there are two more cats finding their vocation of quilt sitting.

Tuesday, August 10, 2010

Mosaic Steps Process


jill.... A couple  of weeks ago, Marny posted the above photo as inspirtation for design.  I was anxious to explore some design options as I have a couple of fabrics that I thought would work well.  These fabrics were ones that I really like but have not been able to create a pattern that I was satisfied with.  The idea was to use the high contrast smaller scale print to represent the mosaic on the step and with a neutral background, piece a line the would create a rhythm, like the tread.  AND .... I would document the process.

The funky circles represent the mosaic and the neutrals are the background possibilites.  I used the darker taupe as the background.


The check is the tread line.  I like the organized black and gold graphic with the more curvelinear shapes in the high contrast mosaic.  It gave it some interest since I didn't piece the many treadlines;  I  simplified the design.


Both the patterns were printed linear so I cut the mosaic at a 45 degree angle and the check with enough angle to make it appear more random.  This angle gave it more action but also left me with a streatchy edge - so I handled it carefully.


The background was cut so that there was a slight progression in size. I alternated the print with the background strips, just like the stairs.
After it was pieced, the above photo really didn't speak to me.  It seemed boring. I decided to add in the other complementary fabric in the larger scale.  I had previously used it in small strips and liked the way the color was random and the shapes obscured.  


I substituted this color strip as the tread and arranged the strips similar to the first attempt.
This block is positioning the prints together.  It still wasn't what I was looking for....so I decided to cut another angle.
From each strip set of "stair and tread", I made a 45 degree angle cut to create one large triangle with the end pieces as right sided triangles. I trimmed the sides and formed the various blocks (not sewing, just moving the sections around). 


They could be used in combination with each other and with some alternating blocks of solid color or pattern.
I think this pattern has more of the attributes I envisioned. The lines don't meet, its active and random. What are you thoughts?  I welcome any suggestions, critique.  AND you can try something similar and post it on our Flikr site.  Hope to hear from you!  See you next Tuesday.

Tuesday, August 3, 2010

Sometimes You Just Have to Stay Home and Do the Laundry

and move the furniture around.  What do you think?
And please, we are looking forward to some inspiring photographs placed on the Flickr site!
Post a comment if you get a chance or have questions.
We are busy with a new endeavor we hope to reveal to you in September.
See you next week.