SIMPLY SOPHISTICATED DESIGN WITH A TASTE OF THE UNEXPECTED.

Showing posts with label charm squares. Show all posts

Tuesday, March 24, 2015

Sewing Machine Cover from DMMQG challenge fabrics and charm squares

We left off here. The original thought was to make a bag.
but now a sewing machine cover seems like a better idea.
This pieced front for the cover is 20 ½'' tall.
It is too wide and will be cut to size below.
An 8 ½" square was cut from each of four remaining challenge fat eighths.
(I'm saving the final challenge fabric.) 
A 2 ½'' strip of color was added along one edge.


A second 2 ½'' strip was added along the next edge. (log cabin style)
These blocks measure 10 ½'' square.


A few 20 ½'' square arrangements were possible, but this is the one I chose.


I added 2 ½'' strips to the sides to make it wide enough to
 cover my machine. It measures 24 ½'' wide by 20 ½'' tall.
It is a bit tall for my machine, but is sure to drape nicely. 
Bigger is better than too small. 


The "front" was trimmed along the sides to measure 24 ½'' across.
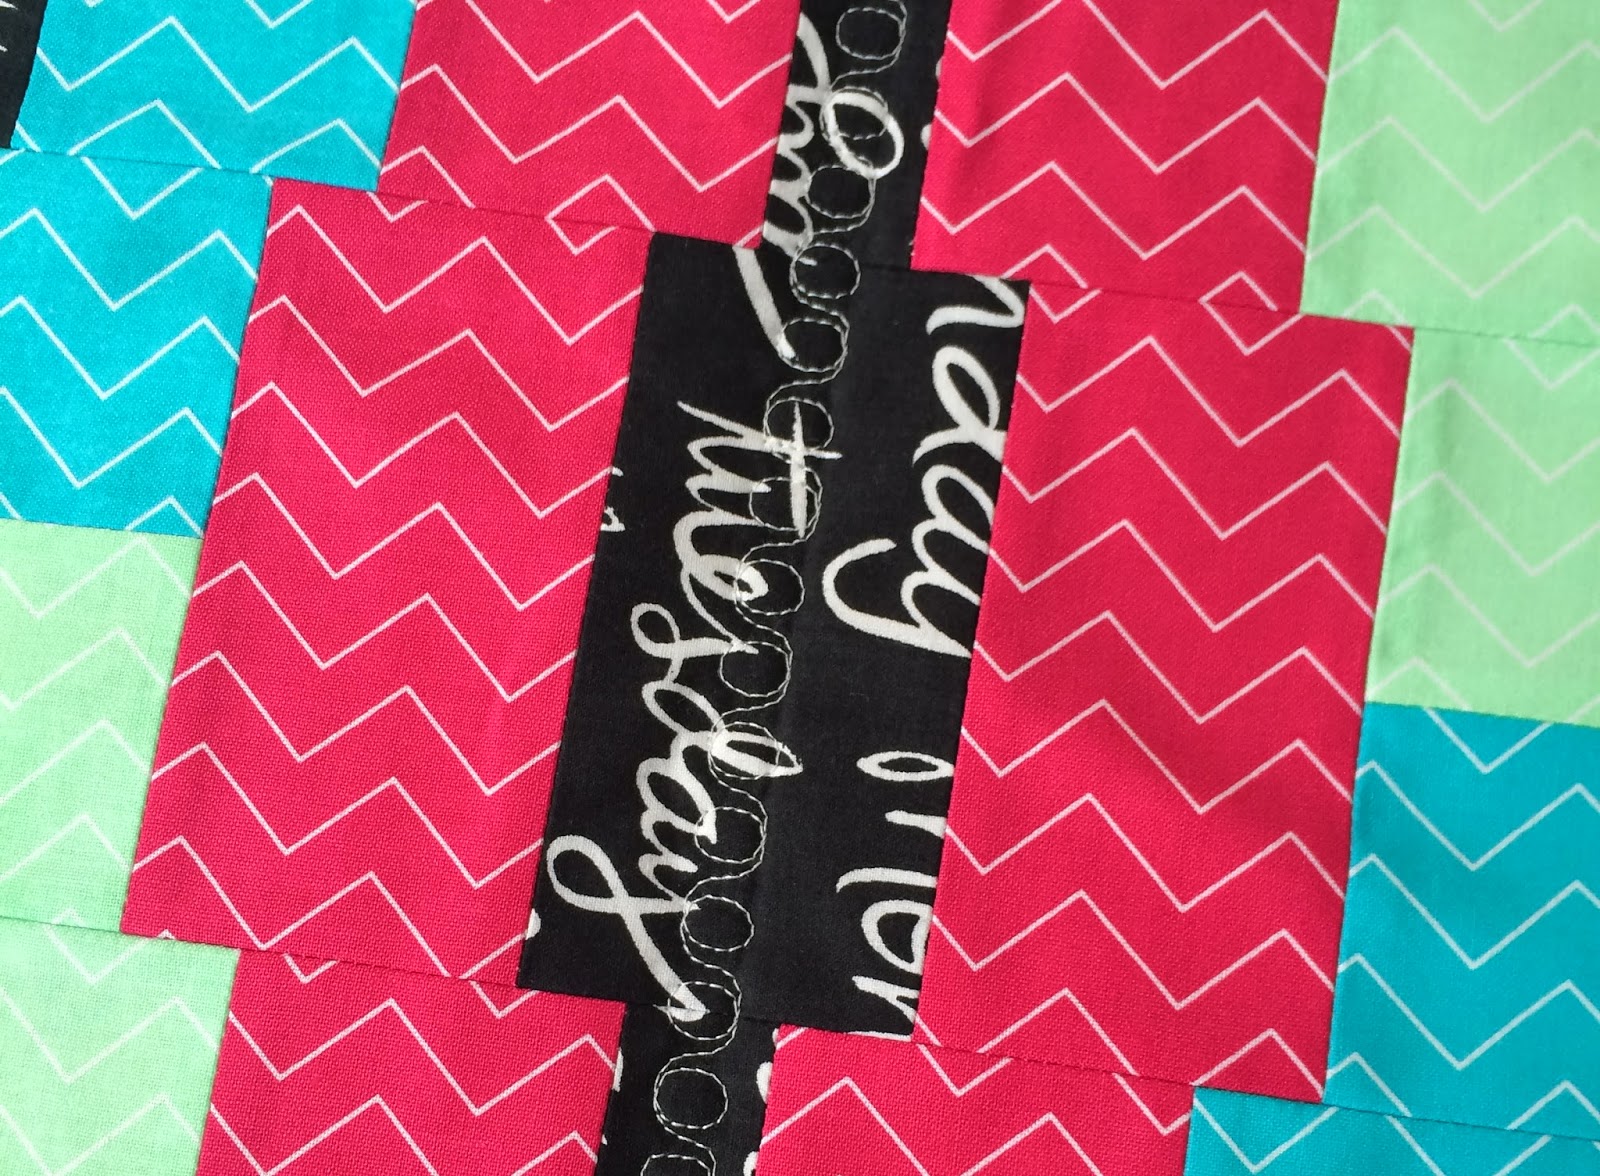
The "front" was sandwiched with batting and backing and quilted with a simple
 loopty loop stitch similar to cursive practice strokes.

The "back" was not quilted.

  • After the front was quilted the "back" was seamed on. Now 24 ½'' by 41'' 
  • The joined halves were placed right sides together with a backing fabric, pinned and stitched with an opening for turning. 
  • The whole thing was turned right sides out, corners pushed out, and edges carefully pressed. 
  • The final step was to topstitch all around the perimeter.

A machine cover done!
Till Tuesday…

Tuesday, March 17, 2015

Des Moines Modern Quilt Group Challenge + Charm Squares = Project Part 2

Marny here…time for Part 2. See Part 1 here. 
This is where we left off. Since this layout is cute, finishing seems right.

One thing to be aware of is these two units are not the same height,
therefore some trimming needs to take place to make the layout work.
Just ½'' is trimmed from all the taller units.

The two middle rows are pretty straightforward now that they are trimmed.

Units in the middle rows are sewn.
(Just rows are sewn, the rows are not sewn to one another yet.
They need background pieces sewn to their sides/ends still.)

Note the ends of the rows do not line up exactly.
The rows need to be staggered just a bit to keep 

the dark verticals where they belong.

A "background" fabric is now starting to be incorporated.
It is a black with mutidirectional white ovals.

2 ½'' wide background pieces were sewn to four short pieces
bringing them up to size, and makes sewing by rows possible.
See above and below.

More background pieces added. 
The narrow strips are 2 ½'' wide and long enough to extend beyond the interior rows. The two inserted between the color units 
in the top and bottom rows are 2 ½'' x 6 ½''.
The eight "square" background pieces are all 4 ½'' tall, 
four are 5'' wide and four are 4 ½'' wide.
The rows are ready to complete and be sewn to one another.
Hopefully Part 3 will have a bag well underway! (It was 83 degrees here on Monday, not a time for sewing, it was a time for enjoying the brief promise of summer.)
Till Tuesday…cooler weather is returning so…


Tuesday, March 3, 2015

Des Moines Modern Quilt Group Challenge + Charm Squares = Project Part 1


Bundle of six fat ⅛ths tied up.


All are text…some less directional than others.
One has a black background and one has a creamy background.
The rest are white backgrounds with black print.
Four 5'' squares of each of 4 colors from a
Dear Stella charm pack of  Zig Zags. 

This charm pack was unique in having so many of a single color. 
Each "block" needs 2 matching charm squares, and today's 
directions make 8 blocks.

I chose the black background fabric first because 
the bright zig zags really pop adjacent to the dark.
Cut two 1 ¼" x 21" strips and two 2 ½'' x 21'' strips to make eight blocks. 


Cut every charm square in half.


Yep, in half.


Seam one side of the charm square to the 1 ¼'' strip cut previously.


Chain piece four halves along the 21'' strip. 


Trim


Press, then seam the other half of the same charm square, 
cut edges aligned. (Pinked edges are to the outside.) This ensures directional fabric will be oriented correctly in the finished units. 


A unit with both halves seamed and pressed.


Now cut these units (only the ones with the 1 ¼'' strip inserted) 
in half cross wise.
Note orientation shown.


Two halves


Repeat sewing process with a 2 ½'' x 21'' strip and 
four remaining matching charm squares.
DO NOT cut them. You now have units to make four blocks.


Repeat the entire process through once more to make a total of eight blocks. 
Here is just one idea for assembling.  
More experimentation and playing will take place before Part 2 of this project is posted. The rules for the challenge are minimal, use some/all of the challenge fabrics, and the final project needs to be quilted. Where is this going? Making the "blocks" is really fun and somewhat addictive. How many do I need and for what? Hmmmm.

Till Tuesday…