SIMPLY SOPHISTICATED DESIGN WITH A TASTE OF THE UNEXPECTED.

Tuesday, March 24, 2015

Sewing Machine Cover from DMMQG challenge fabrics and charm squares

We left off here. The original thought was to make a bag.
but now a sewing machine cover seems like a better idea.
This pieced front for the cover is 20 ½'' tall.
It is too wide and will be cut to size below.
An 8 ½" square was cut from each of four remaining challenge fat eighths.
(I'm saving the final challenge fabric.) 
A 2 ½'' strip of color was added along one edge.


A second 2 ½'' strip was added along the next edge. (log cabin style)
These blocks measure 10 ½'' square.


A few 20 ½'' square arrangements were possible, but this is the one I chose.


I added 2 ½'' strips to the sides to make it wide enough to
 cover my machine. It measures 24 ½'' wide by 20 ½'' tall.
It is a bit tall for my machine, but is sure to drape nicely. 
Bigger is better than too small. 


The "front" was trimmed along the sides to measure 24 ½'' across.
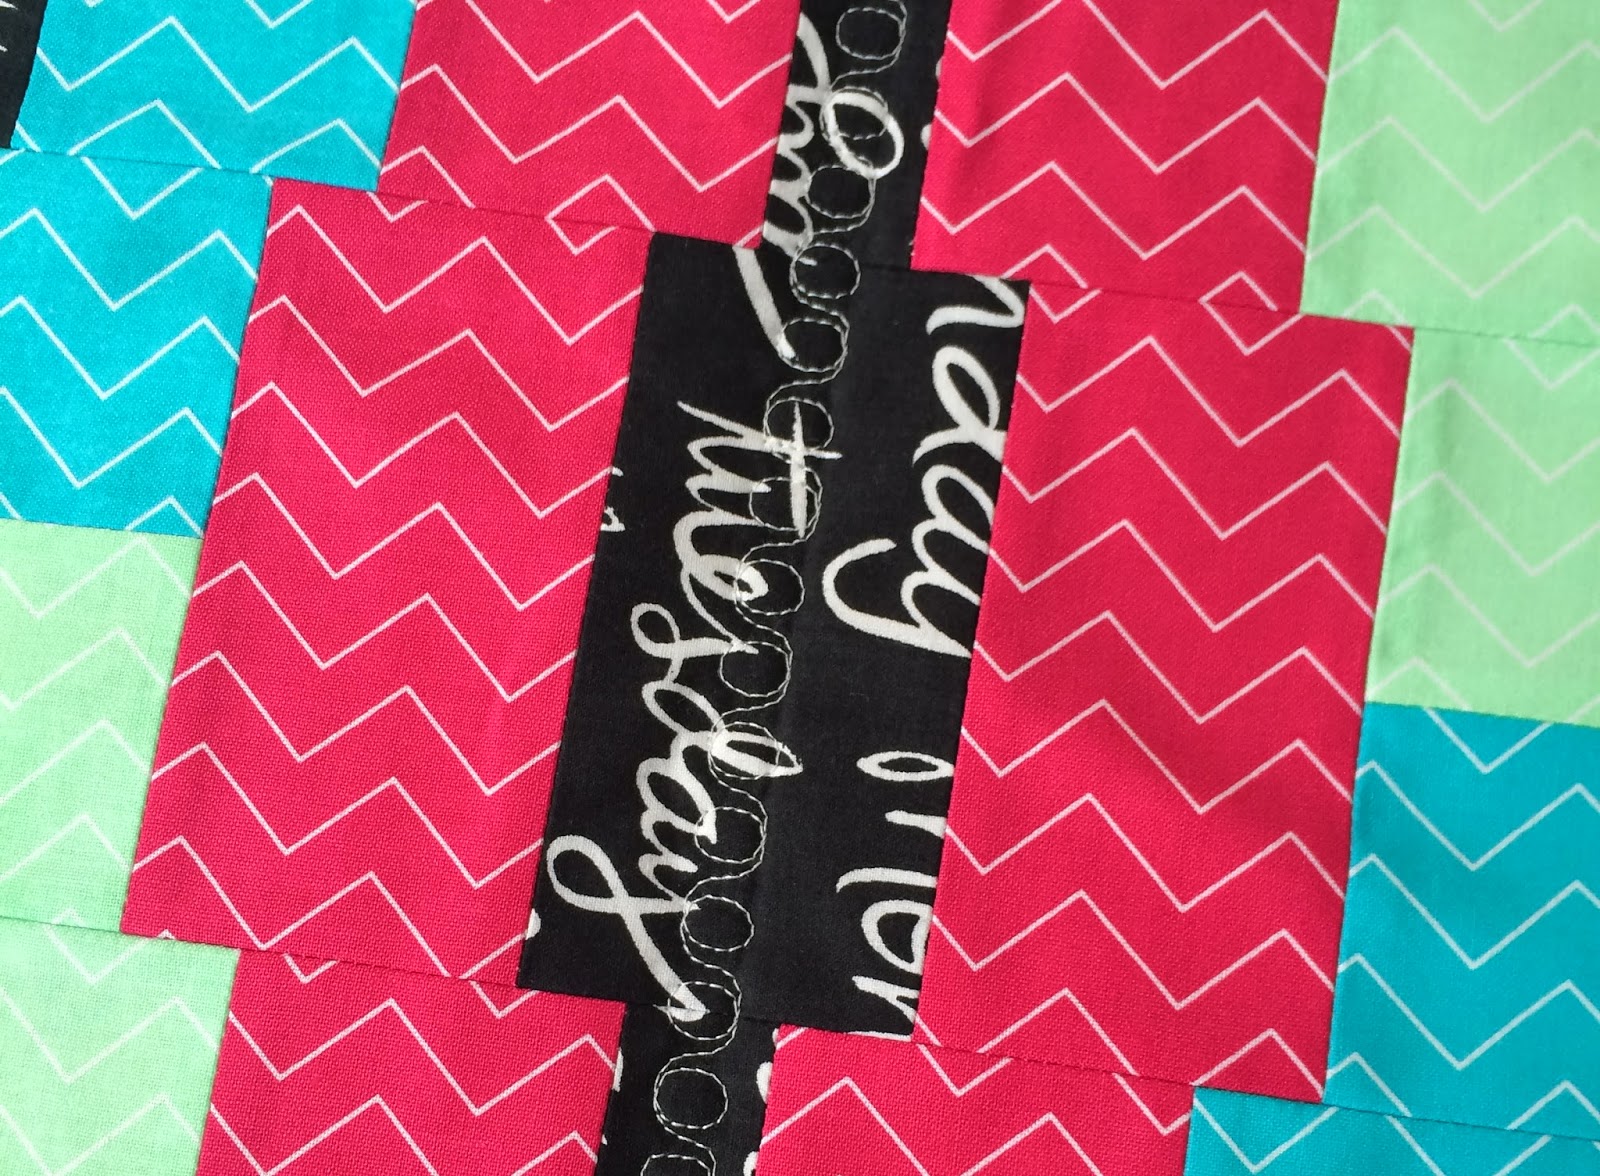
The "front" was sandwiched with batting and backing and quilted with a simple
 loopty loop stitch similar to cursive practice strokes.

The "back" was not quilted.

  • After the front was quilted the "back" was seamed on. Now 24 ½'' by 41'' 
  • The joined halves were placed right sides together with a backing fabric, pinned and stitched with an opening for turning. 
  • The whole thing was turned right sides out, corners pushed out, and edges carefully pressed. 
  • The final step was to topstitch all around the perimeter.

A machine cover done!
Till Tuesday…

No comments:

Post a Comment

We really love hearing from you! All comments are being moderated due to inappropriate comments being posted. We will attempt to post your comments in a timely fashion.